
Preventing (and Handling) Microphone Feedback Like a Pro
Thank you! Here is your first video. Check your email tomorrow for video #2
Video 1
Video 2
Video 3

Learning Objectives:
By the end of this module, you will be able to:
-
Understand the root causes of feedback in school sound systems.
-
Place speakers and microphones to minimize risk.
-
Teach basic mic technique to performers and students.
-
Respond quickly and confidently when feedback happens mid-performance.
The Big Picture:
Feedback isn’t just a tech glitch—it’s a symptom of poor system setup or mic handling. School gyms, cafeterias, and auditoriums are echo chambers waiting to cause feedback loops. Learning how to prevent and fix feedback keeps your rehearsals running smoothly, your performances sounding professional, and your audience from cringing
What Is Feedback, Really?
Feedback happens when a mic picks up sound from a speaker, sends it through the system, and the speaker sends it back out again—creating a loop. This loop gets louder until your audience (and your principal) wince.
It’s not because your system is “cheap.” Even professional systems feed back when misused.
Step 1: Prevent Feedback with Proper Speaker Placement
-
Keep speakers in front of the microphones. Always. If a mic “hears” a speaker, you’re asking for trouble.
-
Angle speakers away from performers. Even small angles help reduce how much sound bounces back toward the mic.
-
Elevate speakers to ear height. This allows you to keep the volume lower and project sound directly to the audience, not the floor or ceiling.
-
Use directional speakers. Most PA speakers are designed to push sound in a focused cone. Know where that cone is aiming.
-
Avoid corners and reflective surfaces close to speakers or mics. These bounce sound unpredictably and can amplify feedback.
Step 2: Teach Microphone Technique
-
Hold the mic near the mouth (about 4–6 inches away) and speak or sing directly into it.
-
Don’t point the mic at the speakers—not even by accident.
-
Don’t “cup” the mic head. It changes the mic’s pickup pattern and boosts feedback-prone frequencies.
-
Use one mic per source when possible. Multiple open mics = multiple feedback opportunities.
-
Mute mics when not in use. Open mics pick up ambient sound and make your system more sensitive.
Step 3: Stop Feedback in the Moment
Even with good prep, sometimes it happens. When it does:
-
Stay calm. Panic only delays your fix.
-
Turn down the volume on the channel where the squeal is coming from.
-
Mute one mic at a time to isolate the culprit.
-
Check mic position. Someone may have stepped in front of a speaker or turned their head the wrong way.
-
Lower the monitor (stage) volume if monitors are being used. Stage monitors are a common feedback source. Consider lowering them when a mic comes in close proximety
-
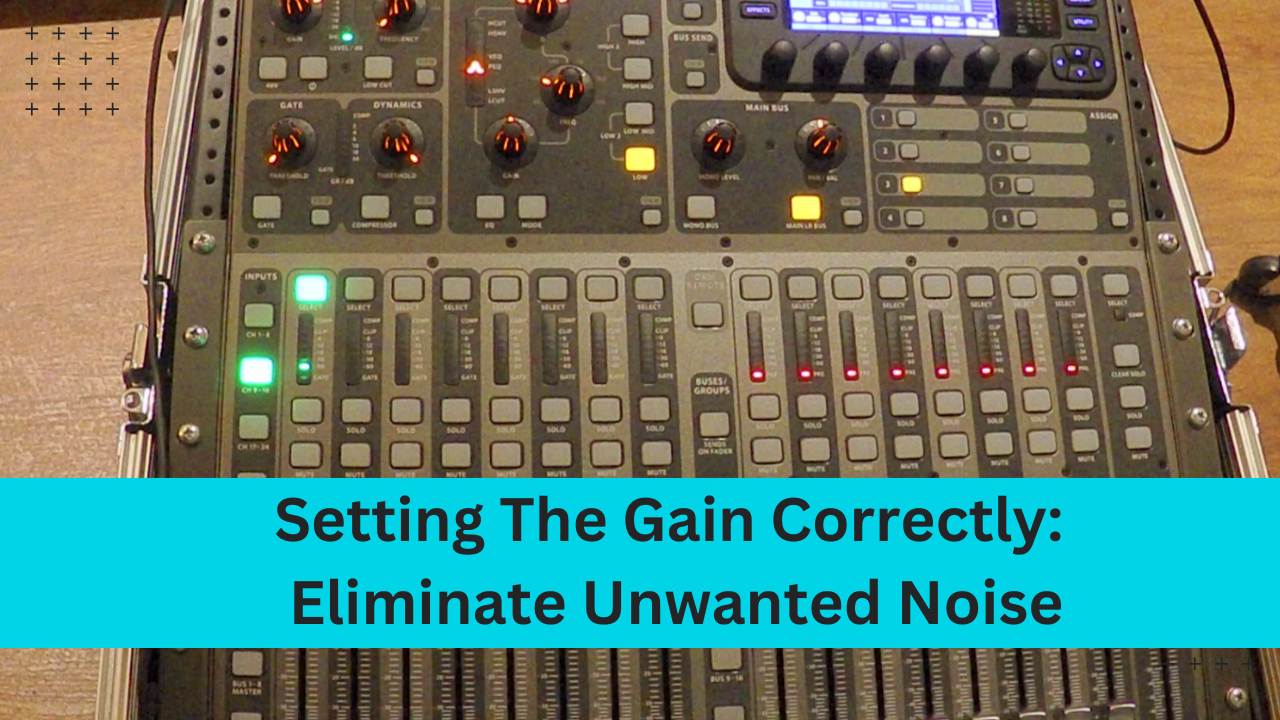
If using EQ, cut the offending frequency. Most feedback happens in the 2kHz–8kHz range. A quick dip with a graphic EQ can help.
-
Move the mic. Sometimes just shifting it an inch or two will make a huge difference.
Pro Tips:
-
Use directional mics (cardioid or supercardioid) whenever possible—they're less sensitive to sound behind them.
-
Label your mixer channels so you can adjust quickly without guessing.
-
Set up your system in advance and do a feedback test before anyone walks into the room.
-
Consider a feedback eliminator or limiter if you’re using the system in a high-risk setting (like a gym or cafeteria).
Recap:
✔️ Keep mics behind speakers.
✔️ Aim your speakers.
✔️ Teach performers mic skills.
✔️ React calmly and swiftly when feedback strikes.
